Techniques to Avoid Live Coding, Part 1
Originally published at Code PlanetYou’re on stage. You’re about to demo your Cool New Thing. Just gotta add a few… lines… of code… and [drumroll] ERROR. Oops, heh… here’s what we did wrong. Just fix this and… [drumroll] … [drumroll] hmm. [drumroll] Looks like the wifi isn’t working…
"Well trust me, it works."
Live coding! The worst! We’ve all seen the previous scenario play out in a presentation, perhaps you’ve even been a victim. But what can a presenter do? The code demos have multiple steps, there are terminal interactions and the tool relies on an internet connection. How can we fit all that into our slides?? Fear not! I’ll go over some tips to keep your presentation running smoothly without sacrificing a calf to the Demo Gods beforehand. In this post, we’ll look at coding demos: demos where you’re writing code for attendees to see on a projector.
It’s not uncommon, when demoing a programming practice or tool, to do a “build-it-up” type demo, where you start with something simple & add functionality through the presentation. This is a great pattern for demoing frameworks & libraries, but many steps means many opportunities for mistakes. I lean on two main approaches to handling these issues.
Solution 1: Tagged Steps
The first solution for this one is the most simple: tagged steps in a git repo. By coding beforehand & tagging each step, you have the flexibility to live code if you want (you can always jump to the next step if you get off track), or don’t code at all and just check out step after step.
This approach requires some preparation! While you can retrofit this approach onto an existing repo, it’s much easier if you plan things out ahead of time. Here’s my approach:
- Create the outline of the steps you’re going to go over in code examples
- As you create your example app, commit at each step from your outline
- Tag each commit with a step name or number (don’t do this ’til you’re done!!)
- Optionally: link to the tags in your slides
When you’re done, you’ll have something like this:

Now you can still code in your demos, but if something goes awry, you have a safety net: git checkout the next step & you’re back to working code and ready to move on! Bonus: attendees can now peruse your examples at their leisure after the talk.
Example: in this talk, each of the titles in the “steps” slides are links to a tag on github.
Solution 2: Code "Fade-ins” (and Highlighting)
Depending on the nature of your presentation, you may not have the ability or the time to actually step through the code and look at it in an editor. For fast-paced talks, it can be useful to have everything in your slides, code included.
Putting code in slides can go very wrong, however: if you dump a big block of code on the screen, attendees don’t know where to look and it can be hard to tell what’s important. This, for example, is a mess:

Where am I supposed to look? Which part of this is important? I can’t read all that!!!
My solution to this is two-fold:
- Highlight the important bits
- Fade lines of code in to match the order of your explanation
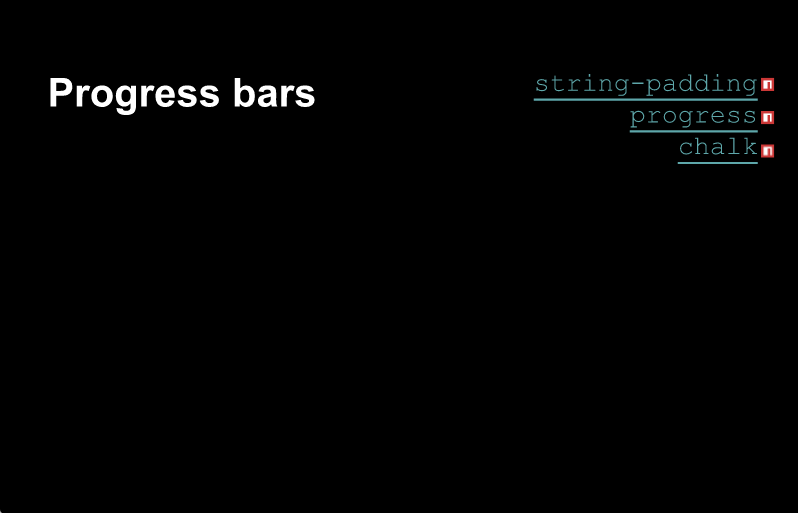
By fading code in line by line or in blocks, it simulates “writing” the code, and it presents lines of code at a rate people can actually process. Highlighting simply calls attention to the important bits, so people know where to look. In the example above, which relates to adding progress bars to a file-download feature, the steps I was going over were:
- Make request & pipe it to disk
- Add a response listener
- Set up the progress bar
- Update it when data arrives
- Finally, output the filename in cyan
With transitions in place, I was able to go thru each of the steps above one by one, “building up” the example in bite-sized pieces:
NB: This gif cycles thru the steps much more quickly that you would on stage.
This is one of my favorite approaches to live-coding (fake it! :p), but it can be difficult to set up. In the example above, there is a separate text-box for each of the portions to fade in, painstakingly positioned to appear as one big file. Another challenge was getting highlighted code into google slides at all: when you copy code from most editors or IDEs, they don’t bring syntax highlighting along. I found that PHPStorm did allow you to copy code with syntax highlighting, so I opened files there any time I needed to copy with highlighting. Yes, all this was time consuming. 🙂
This approach is also possible in tools like Reveal.js, but not using markdown. In order to achieve line-by-line fade-ins with Reveal.js, you’d need to first convert the code examples to HTML, then manually add the fragment class to elements you wish to fade in. I haven’t tried it but I believe it would work– if you have done this, please let me know!
That’s all for today! In part II of this post, we’ll look at how to demo command-line tools and interactions on stage… without opening a terminal. Stay tuned!
📝 Comments? Please email them to sequoiam (at) protonmail.com